How to enable the Exit-Intent popup
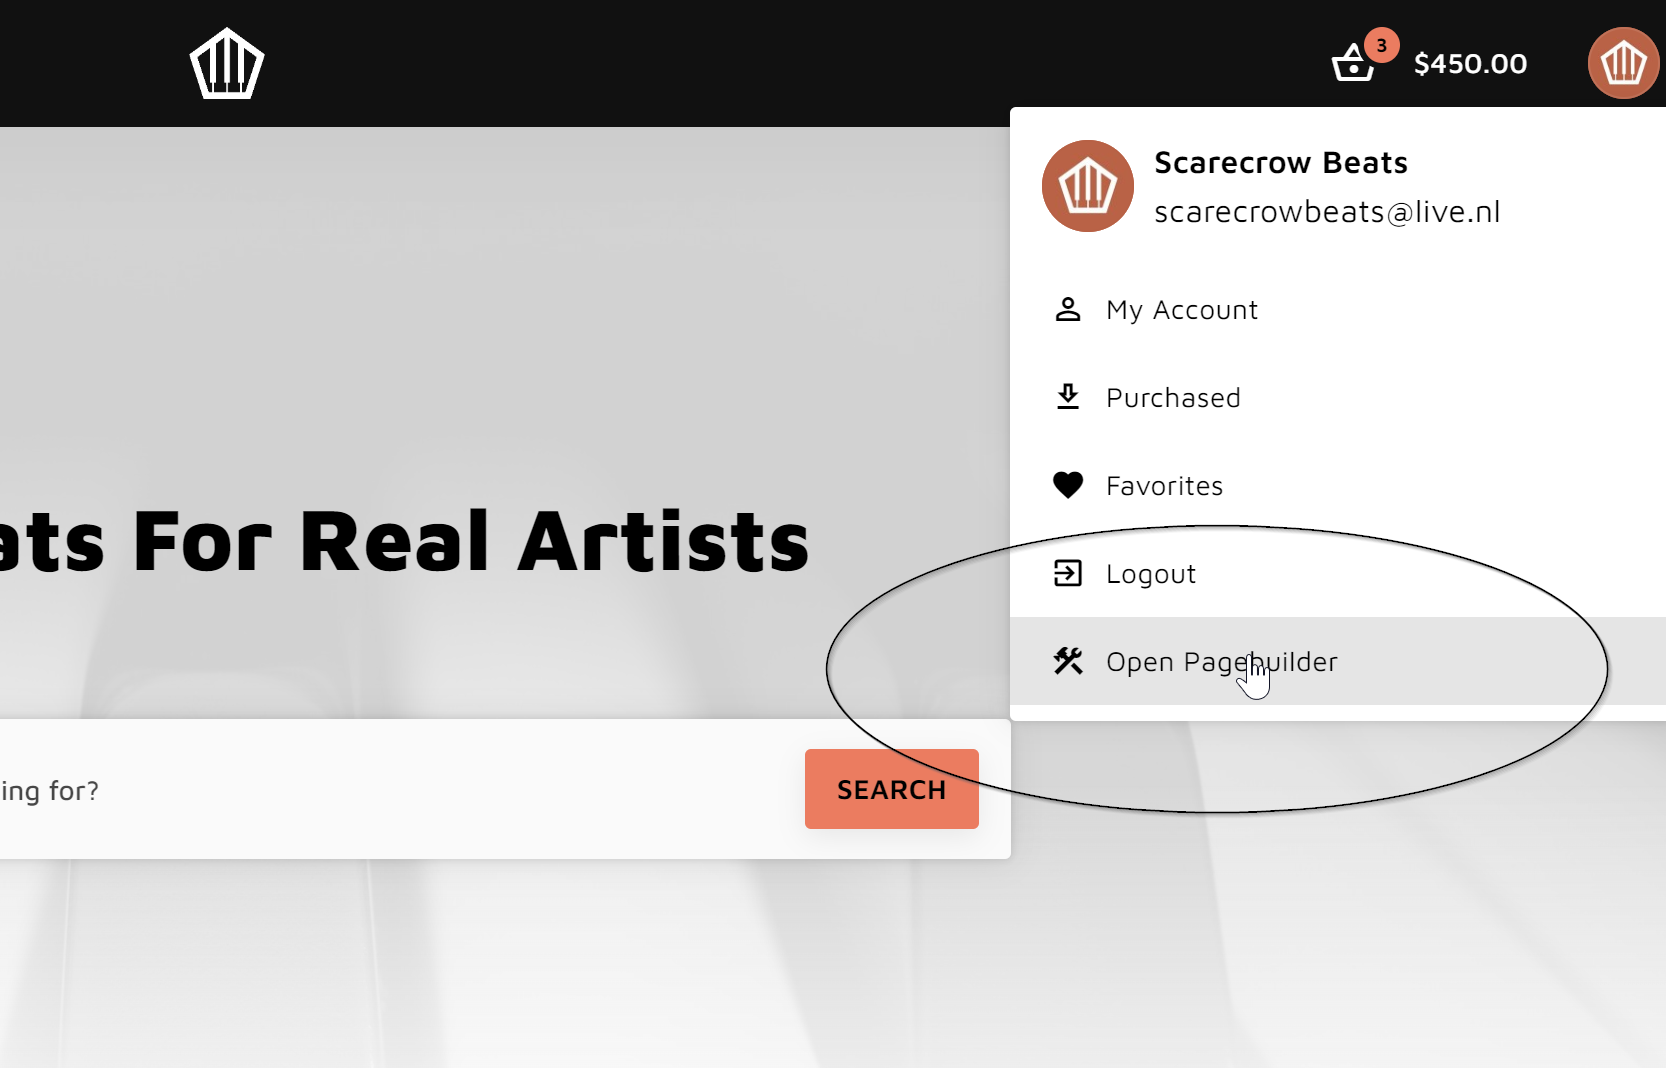
1. Open the Page builder on your store.
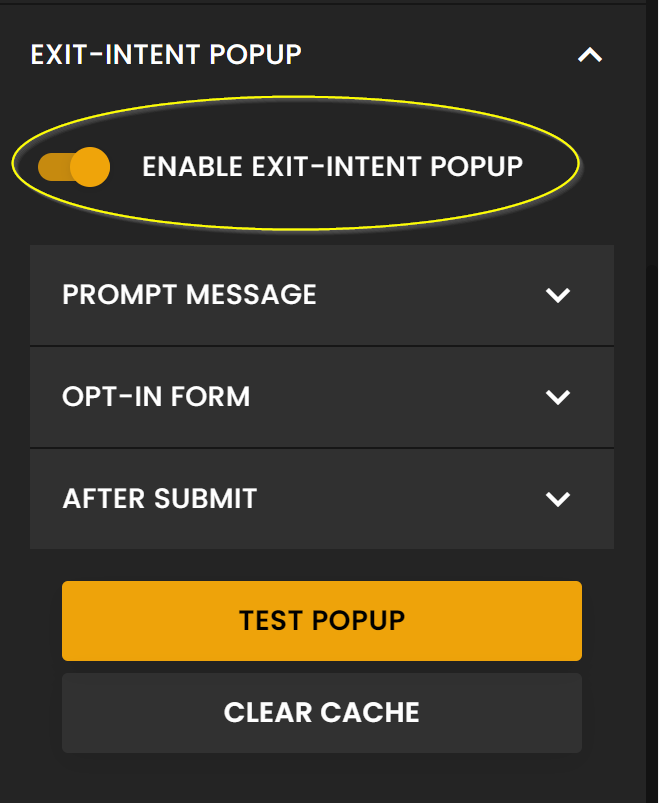
2. Scroll to Exit-Intent Popup section and click enable.
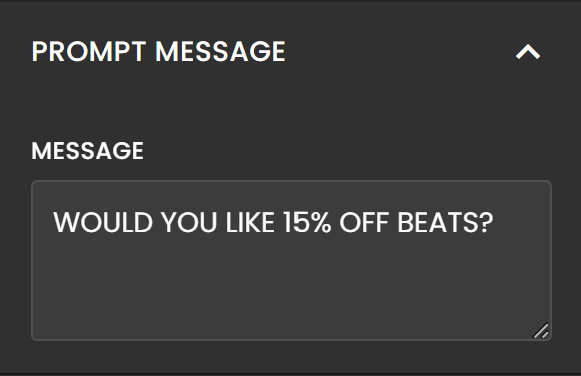
3. Set up a prompt message.
This is the message that will be displayed the moment they're about to exit your website.
In this case, we offer them a 15% off coupon code.
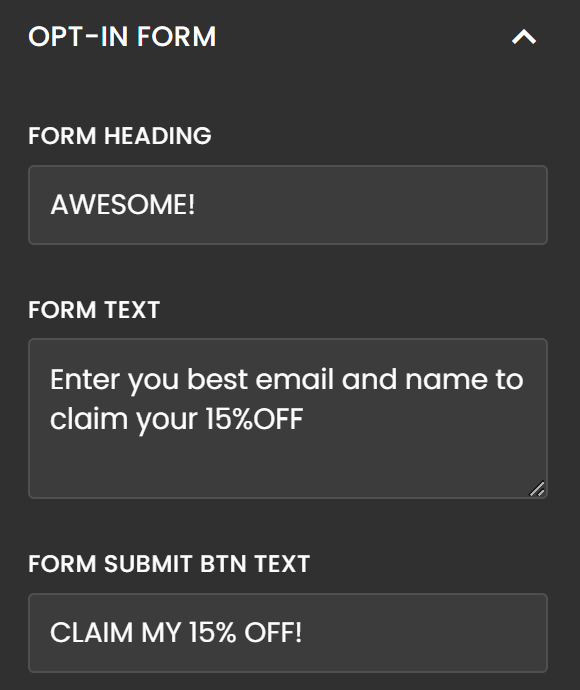
4. Set up the form values.
5. Set up a confirmation message.
This is the message that will be displayed after they've successfully submitted their email address.
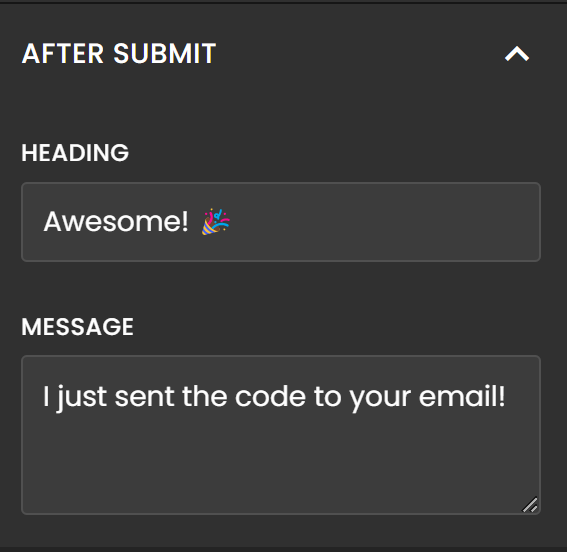
6. Test your popup
That's it! It's time to test your popup by clicking "Test Popup" or "Clear Cache" and moving your cursor out of the screen.

What's next?
After a visitor has successfully given their email, you have 3 ways of capturing these.
- Send the contact directly to your ESP integration with Soundee.
If you have directly integrated your ESP with Soundee, this would be the fastest and easiest but limited way of capturing the contact. Simply choose the list you'd like to subscribe the contact to and you're all set.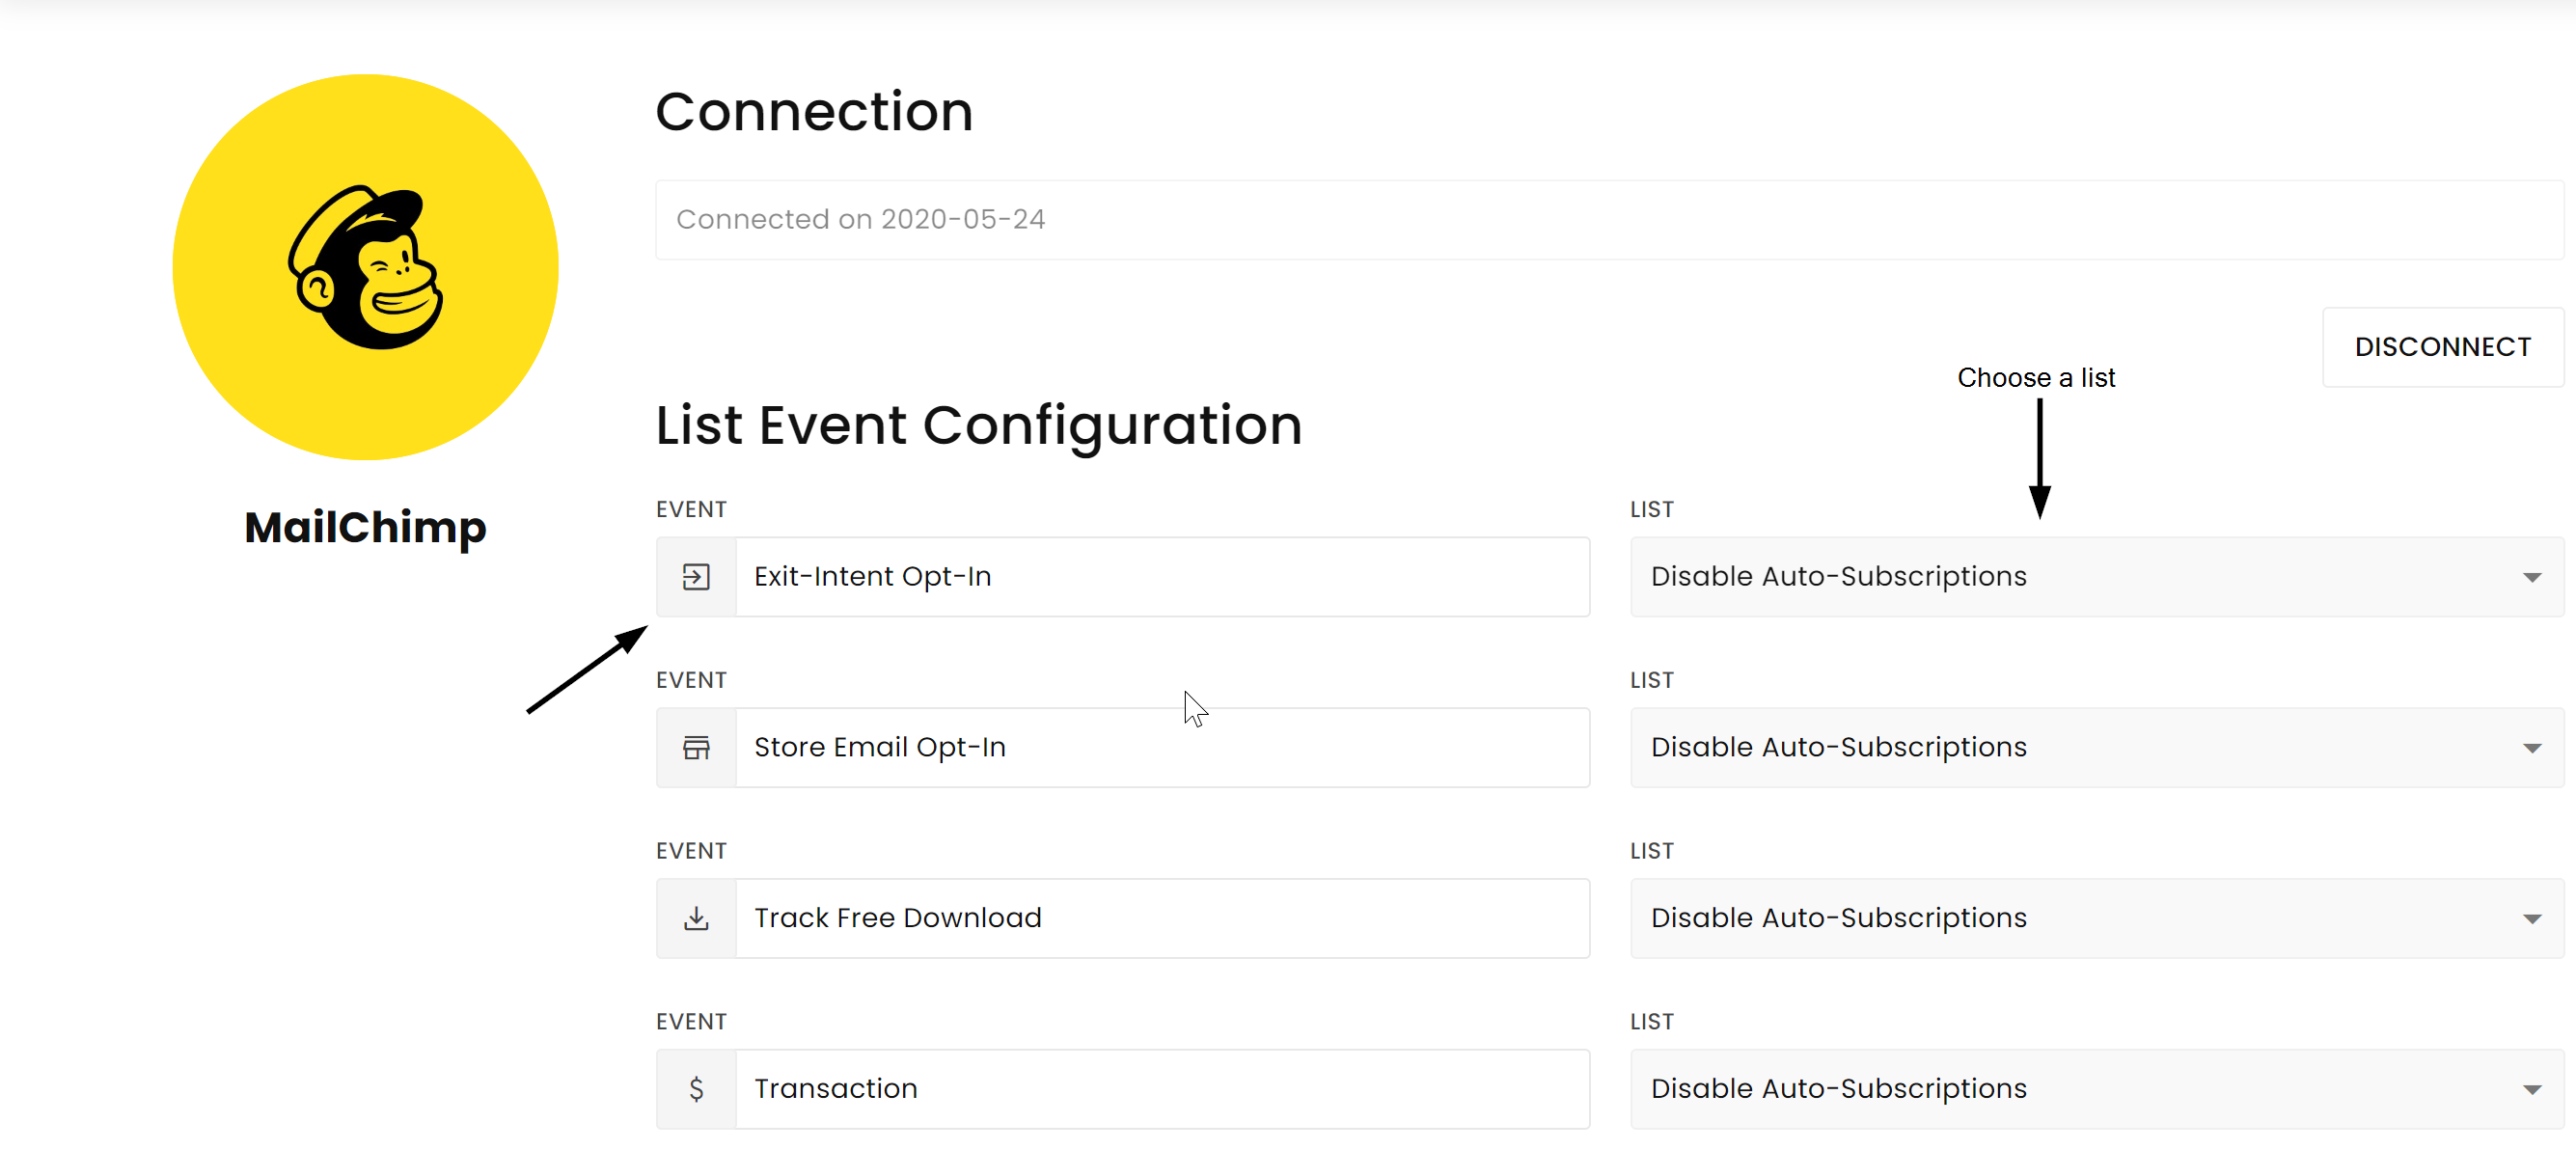
Tip: In case you're offering a coupon, you could automate this by setting up an auto responder in your ESP where you automatically send the coupon code when someone subscribes to that list. - Capture Exit-Intent Opt-In with our Zapier integration (recommended).
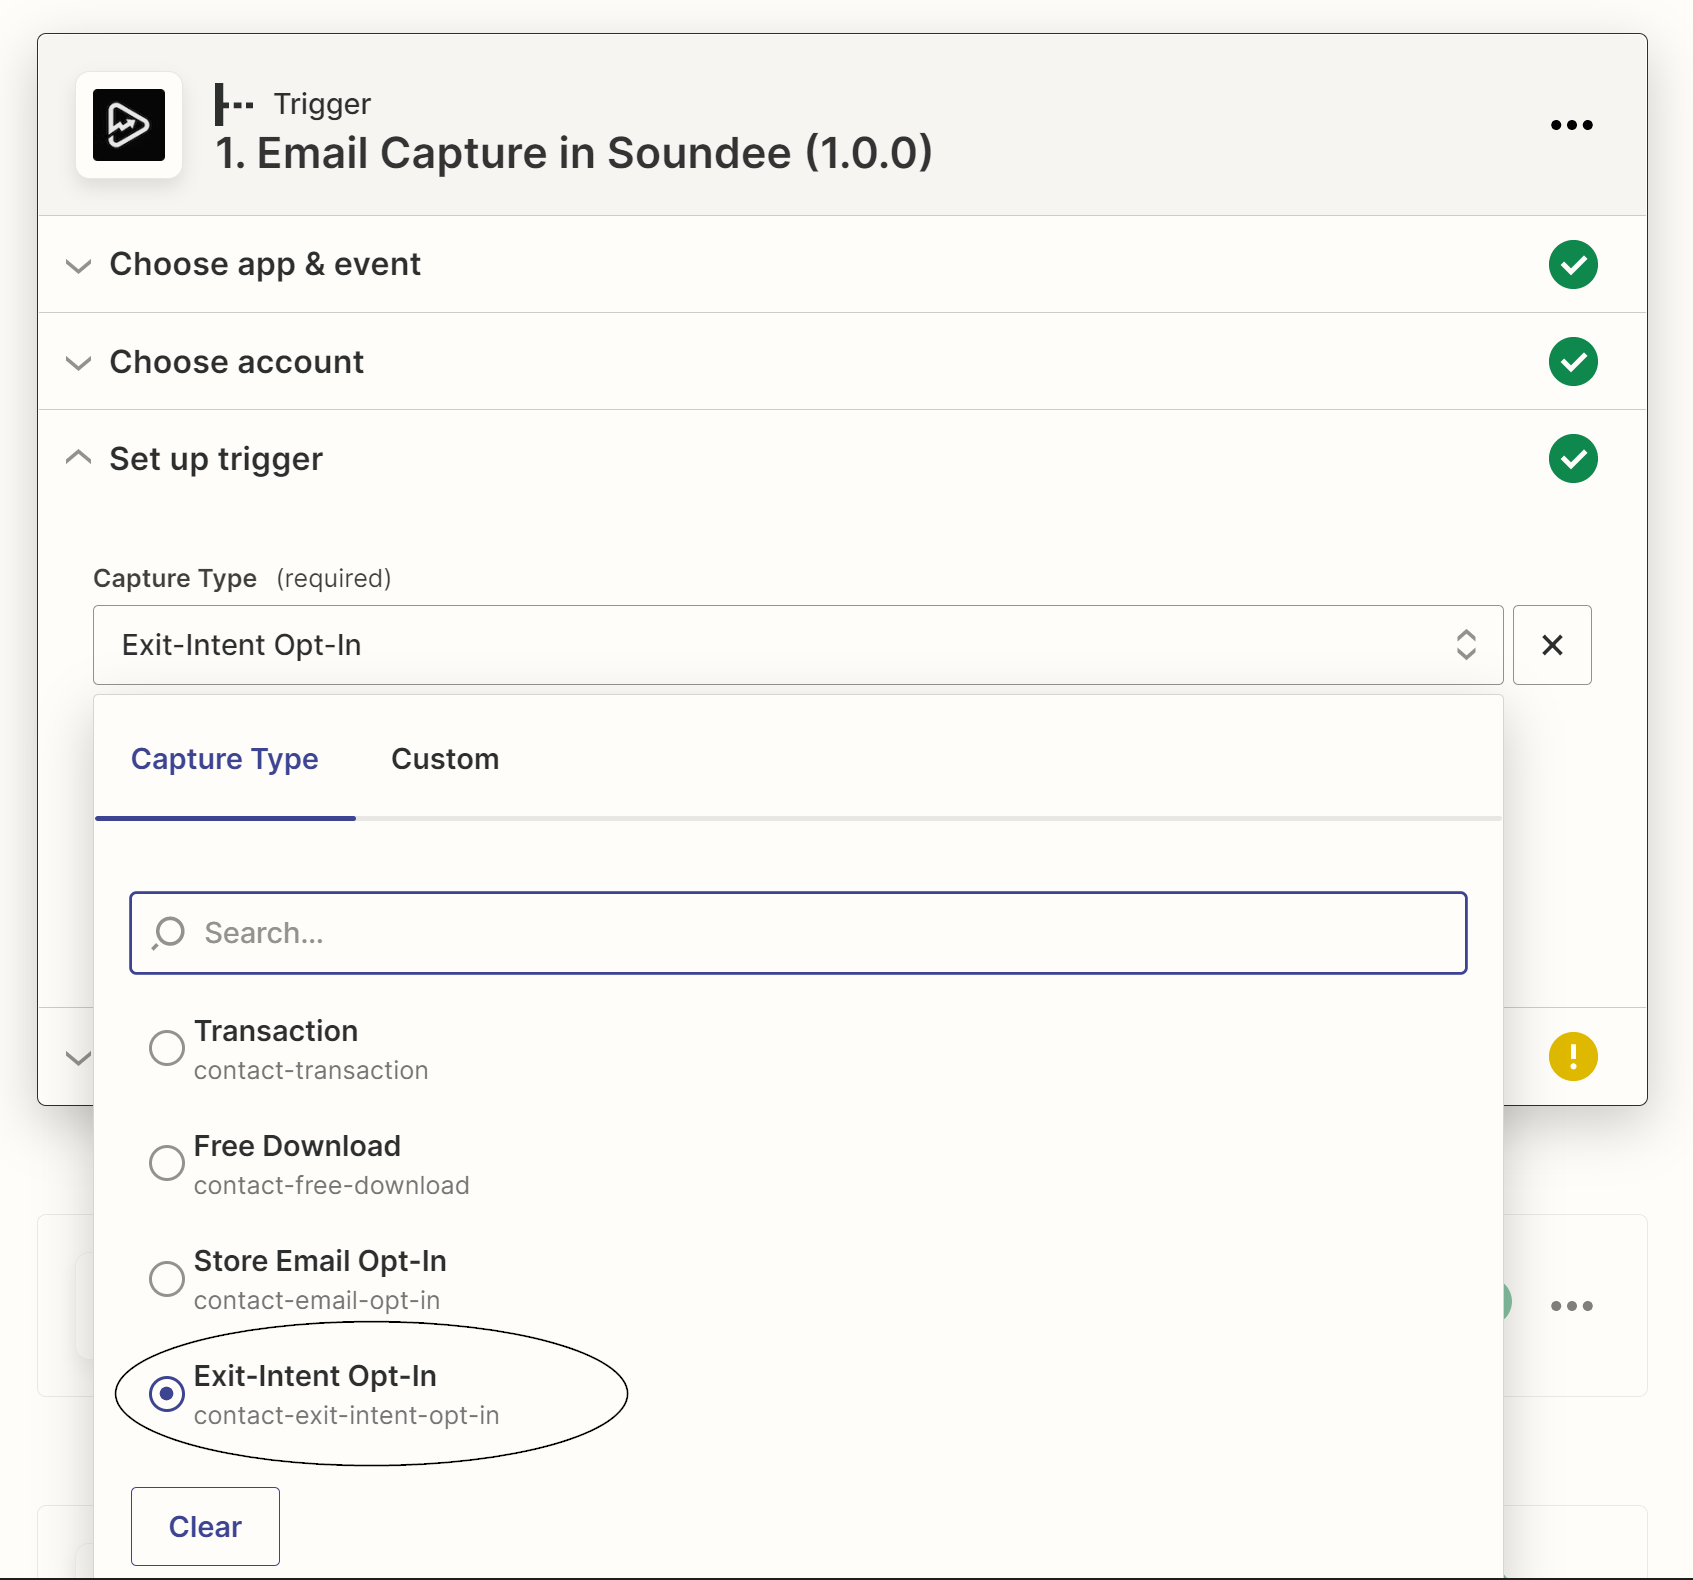 This would be the most flexible solution as you have more ESP options. You can also customize your workflow and create custom coupons on the fly directly from Zapier. For example, to create more urgency, you could ensure that the coupon has a max-usage of 1 and expires at a specific date.
 Zapier templates are coming soon!
- Capture the contact.exit.intent.opt.in event with Webhooks V2.
This would be a great alternative if you can't work with Zapier. It does require some understanding of coding.
Tip: When sending out coupons in your emails, you can add them to your website link and they will automatically by added to your Soundee store, e.g., https://yourwebsite.com?snd_coupon={code}
This can be done by using our Parameters feature. Learn more about this here.


